27/07/2021
4 things to consider when setting up the perfect podcast room
About one month ago, Anne, Head of marketing, approached me and told me, in her classical bubbly manner, to set up a podcast room for the B.O.L.D Podcast by Audacia. Following that request, my initial thoughts ranged from “I’ve never done this before” to “Oh gosh so many expectations”. And that’s why I said yes, naturally. I mean, I hadn’t finished my 3 month trial-period of my work contract, so now was not the time to disappoint. My first reflex was obviously to scour the web in search of the recommended podcast solutions. As I like to say : have no fear, Google is here! And indeed, my great friend the internet did not let me down.
In this article, you’ll find an agglomeration of all the tips I’ve scavenged as well as my recommendations for what technology to acquire. In my view, there are 4 necessary aspects to consider when setting up your ideal audio/video podcast room :
1. The desired vibe
2. The audio
3. The video
4. The tech that brings it all together
Ready to dive in? Let’s go!
1. The desired vibe
This may sound obvious, but having video with your podcast means you don’t only have to sound good, but should look good as well. A beautiful setup can go a long way in hooking your viewers. I’m not talking about makeup, dresses, suits & ties. I’m talking about good-looking furniture, a clean desk, maybe your logo in the background… Basically: show your viewers you are a pro that cares.
There are 3 main types of podcast formats that you can pick from, depending on your needs, means and desires :
The radio format
The TV format
The circle format
The radio format
This is, and don’t quote me, the standard way people set up their podcast room. A large table, large microphones, large headphones: this setup screams quality and comfort for the guests.
Advantages :
•Great microphone quality
•Shy guests may feel less exposed and, therefore, more comfortable
Disadvantages :
•Not very visually stimulating
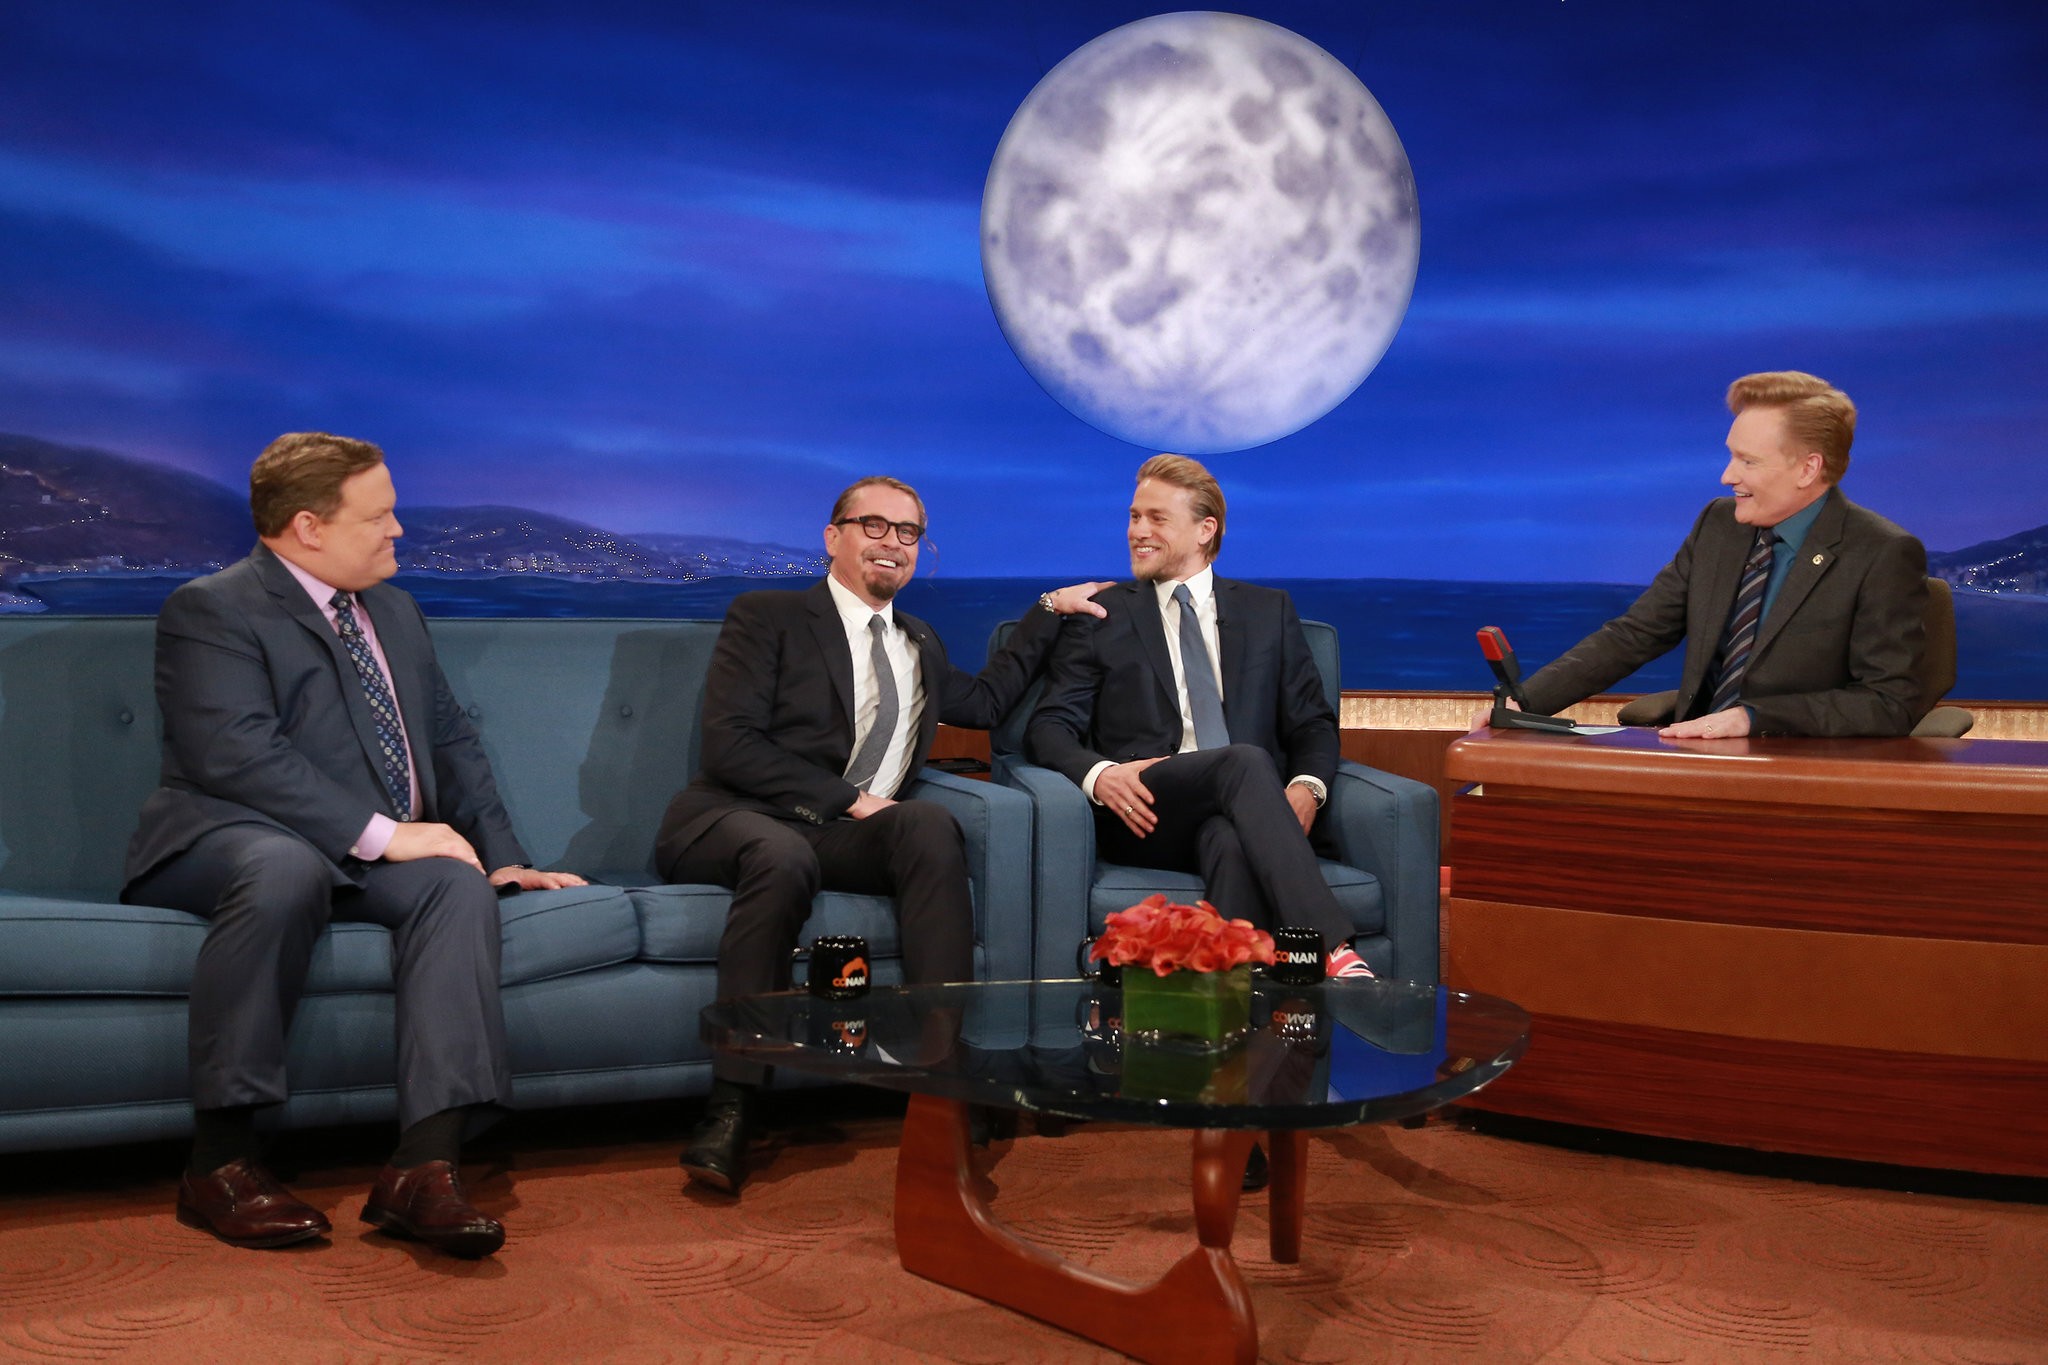
The TV format
Think American talk-shows. The TV format is the ideal solution if you want your visual setup to feel high-end and professional. The trade-off with the radio format is mainly that the host and guests do not have any headphones. Also, using a large microphone doesn’t feel natural in this format.
Advantages :
•Visually stimulating
•Gives you the option of creating small video capsules for other social networks (Instagram, TikTok etc…)
Disadvantages :
•No headphones
•Slightly weaker audio quality
•Shy guests may feel “exposed”
The circle format
If you often have more than 3 people on your show, the circle format is the perfect solution. Meetings happen in a circle for a reason : they show every participant that they are equal and can interject their opinions if wanted.
Advantages :
•Perfect to create dynamic interactions
•Great audio quality
Disadvantages :
•Only suitable for shows with 4+ people
What do I pick?
In the end, which format you pick is entirely up to you. You decide how you want your brand to be shown to the world. However, keep in mind that the desired vibe will determine what kind of technology you should acquire. For the Bold Podcast by Audacia, we’ve decided to go with the TV format, as we wish to extract content from the episodes in the form of mini video-capsules highlighting the key moments of the podcast.
2. The audio
A podcast, at its core, is an audio medium. Therefore, the sound quality of your podcast is of the utmost importance. We recommend investing in the best quality microphones that fit in your budget. Your listeners will thank you!
Microphone recommendations
We are well aware that times are tough and that you may not have an infinite amount of money to spend on a microphone. But fear not! It’s entirely possible to find a good quality piece of equipment that will not break the bank. For our recommendations, we will recommend 3 microphones with a cord, and 3 wireless microphones. As noted earlier, a wireless microphone is much less cumbersome and will therefore clear up the camera angles for your video.
Note : all these microphones can be purchased online in Switzerland!
Microphones (with cable)
•$ : Samson C01 (68.30 frs)
•$$ : Audio-Technica ATR2100x (102 frs)
•$$$ : Rode Procaster (175 frs)
Microphones (wireless)
•$ : RODE Lavalier Go (59 frs)
•$$ : Samson Allez Mic Lavalier (246 frs)
•$$$ : RODE Filmmaker Kit (319 frs)
How to capture the sound
So, now you have a microphone… you can start recording, right? Wrong!
A microphone, in most scenarios, cannot capture audio by itself. To do this, you will need something extra : an interface that converts that audio signal into something your computer can interpret. In order to perform this task, you have to use an audio interface. An audio interface is basically a bridge between your microphones and your PC / Mac. In order to pick the one best suited to your needs, it is important to know :
•If your PC is compatible with the desired model
•How many microphones you want to use at once
•How will you plug in the device to your PC (USB? USB-C?)
Keeping that in mind, there are two audio interfaces that really stand out in our view :
The Focusrite Scarlett 2i2 is the ideal solution if you need a good value setup. With 2 XLR ports and a USB port, this device allows you to effortlessly hook up 2 high quality microphones into your computer. The main inconvenience of this system is the limited number of XLR ports, allowing you only to have a host and a guest. However, this minor detail is outweighed by the very affordable price of the device : 161 CHF!
Also, note that with the Scarlett 2i2, you cannot individually change the volume intake of each microphone. This will have to be done with 3rd party software. Managing the volume of your host and guest is a very useful feature, as not all humans speak at the same level.
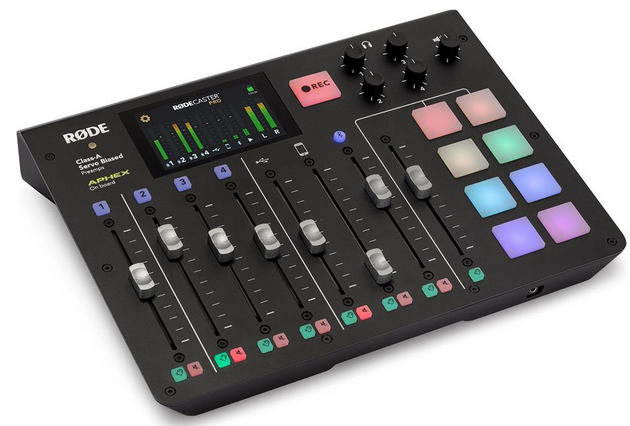
The Rode RODECaster Pro is the ultimate audio interface. With 4 XLR ports, muting switches, volume controls and custom sound pads, the podcasting experience is vastly improved with this device. This is why our choice has landed on this system. However, the price is a bit steep : 539 CHF. Yet, we think the flexibility given by the RODECaster makes the buck worth its bang!
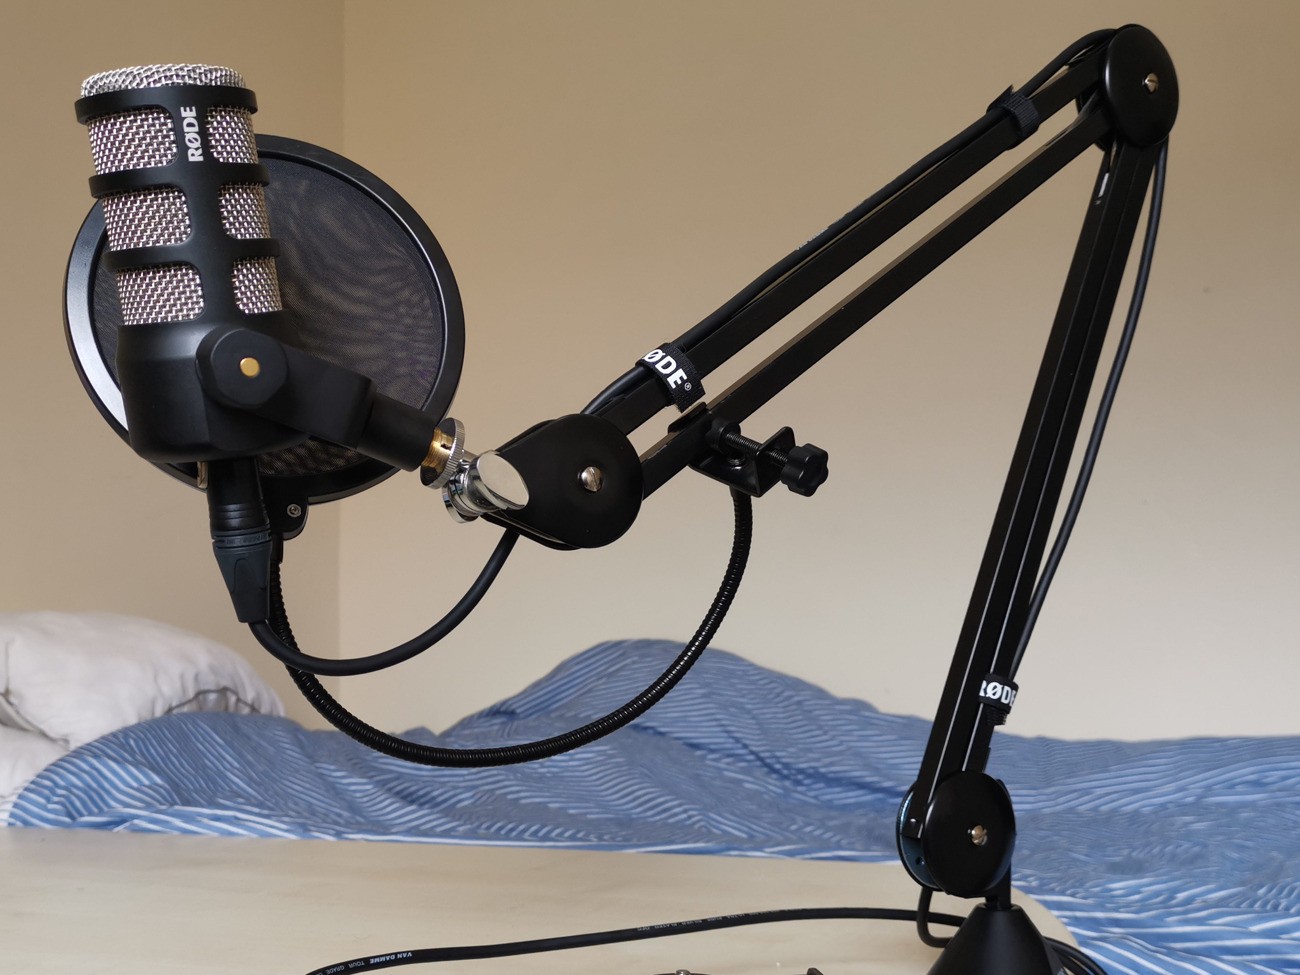
Things to think about
If you opt for a microphone with cable, don’t forget to buy a sturdy microphone stand. This will free the hands of your guests and lead to a better looking image. Also, please note that the position of the microphone is crucial to a professional sounding podcast. Don’t forget to remind your guests to speak directly in the microphone! In the case of a lavalier microphone, make sure to attach the device properly to the shirt of your host. If any fabric rubs against the microphone, you’ll definitely hear it.
3. The video
Alright, your podcast room is set up, you’ve got a few decent microphones and an audio interface, you can start inviting guests. At this stage, you can record podcasts and upload them on Spotify. Congratulations! But… How about we take this one step further?
With video! Indeed, by filming your podcasts, you’ll be able to post your content on many more platforms : Facebook, YouTube, Instagram, TikTok… the world is your oyster.
In this section, we will recommend a few different types of cameras, depending on your budget. Essentially, here are the things you have to look for when choosing your device :
•Does my device have a HDMI / HDMI-Mini output, enabling me to hook it up to my computer?
•Can I plug my device into a wall outlet, enabling me to film for an indefinite amount of time?
•Can my device capture both the host and guest?
Camera recommendations
Logitech Brio Stream ($)
The most affordable option, the Logitech Brio Stream is a very straightforward camera that can directly hook up to your computer. Easy to set up, easy on the wallet, not too cumbersome : the ideal solution if you want a quick and functional setup.
GoPro Hero 9 ($$)
Who hasn’t heard of GoPro? These very small devices offer an amazing video quality, are discreet and can be placed pretty much anywhere, offering you the possibility of shooting amazing angles. With an awesome community and various add-ons, the GoPro is a great solution for people who want a flexible setup.
Canon EOS 250D ($$$)
For people with a more flexible budget, we recommend opting for a camera with an interchangeable lens. This will allow you to shoot a greater variety of angles and will offer the best possible quality in terms of image. The Canon EOS 250D is one of the most affordable options offered by the brand, making it a great pick if you are willing to use this type of device. A word of caution : using a reflex camera is more complicated than using a webcam or GoPro. If you plan to proceed with this type of camera, be sure to take some time to follow tutorials and practice!
Things to think about
As stated at the start of this section, you must be sure your camera can film whilst being plugged into a wall outlet. A lot of cameras cannot film for more than 20-30 minutes before draining the battery, which wouldn’t be an ideal solution if you’re in the middle of a live episode! For the Canon EOS 250D, you can buy a power adapter here.
Also, make sure you have the right cable to connect your device to your computer. For the Canon EOS 250D, we use a mini HDMI to HDMI cable that can be bought here.
Finally, think about the lighting of your space! Try filming your space with your smartphone before purchasing your cameras. If you feel like the image isn’t bright enough, feel free to add external lighting, ideally a softbox like the Walimex 250.
Finally, don’t forget about the stands for your microphones! I mean, you can always put your expensive camera on top of a pile of books. But if your expensive camera falls down, don’t come crying to me (I warned you!).
4. The tech that brings it all together
You’ve got the microphones, the audio interface, the cameras, lights, stands… by now, your accounting department (or partner) is probably thinking “are they done yet?”. You can tell them : “almost!” The last step in order to finalize your setup, is hooking everything up and making sure it works together. There are an infinite amount of ways this can be done, but there are 2 essential elements you need : a camera interface, and a recording software.
Camera interface
The camera interface is the device that will allow you to hook up multiple cameras to your computer. This will allow you to :
•Remotely control your cameras
•Switch camera angles during your episode
•Reduce time spent editing footage afterwards
A camera interface is not necessary if you use only a single camera. If you have multiple cameras, you could also record the entirety of your show on each device and then spend some time splitting the footage with a video editing software like Adobe Premiere. However, this is very time consuming and impossible to do if you want to stream live.
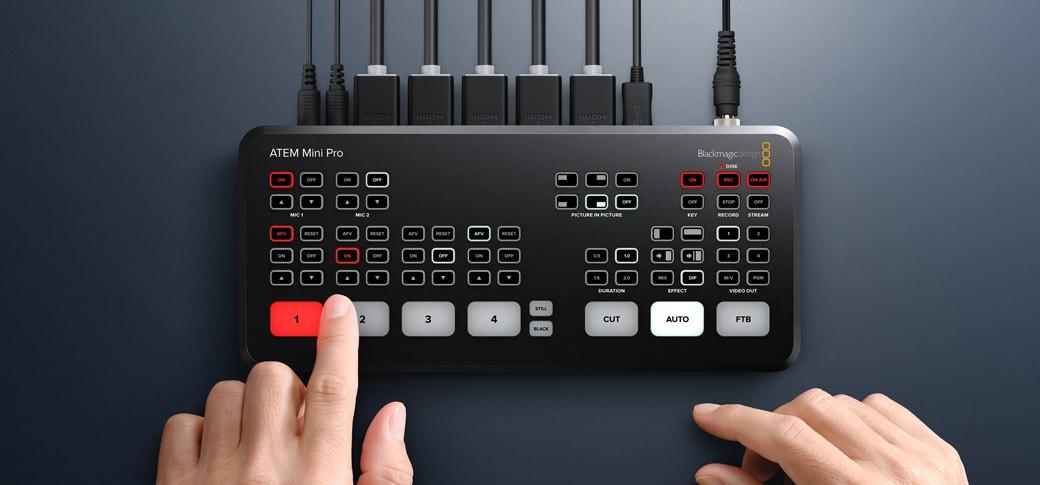
In our case, we use the Blackmagic ATEM Mini Pro. With HDMI, microphone, ethernet and USB-C inputs, the Blackmagic acts as a central device in our setup : everything is hooked up to it, from cameras to microphones to the PC. Also, you can connect an RJ45 cable directly into the device, enabling you to stream with a minimal amount of latency. The buttons directly on the Blackmagic allow you to switch effortlessly between cameras, giving you the possibility to offer your viewers a dynamic and high quality multi-cam experience!
Recording software
OBS. Download OBS. I could go through other options like Twitch Studio, XSplit and Wirecast, but none of these are free and open source. Since I’m a great fan of open source software, I highly recommend you use OBS! Very light and easy to install, you honestly do not need anything else to get your setup up and running. If you need any assistance while configuring OBS, please refer to this amazing video by Tom Buck, who uses OBS with a Blackmagic ATEM Mini Pro and a RODECaster, just like us.
Recap and final thoughts
And there you have it, you now have all the tools to create great podcasts, congratulations!
Please note that we didn’t receive any funds from the brands mentioned in this article (but if they want to send us money, they can contact me for my IBAN if they really want to). I’d also like to remind you to double check you have all cables when ordering your equipment. Don’t forget the HDMI cables for your cameras, and the AUX cables for plugging your RODECaster to your Blackmagic if you decide to do so.
Finally, I’d urge you to keep in mind that the tools used to film and record your podcast are important, of course, but not as important as the quality of your content. A shiny microphone will never outshine a boring conversation.
Happy recording!

Content, Communication & RP at Audacia Group
With a bachelor’s and master’s degree in linguistics and communication, Adrien has had the opportunity to work as a redactor, freelance journalist and web journalist. He’s now Content, Communication and RP Manager at Audacia Group, where he writes content and manages communication for both the Group and some acquired brands.